How often have you made a mental or written note to get {more} storage boxes or containers? And how many of those times have you wanted a nicely matched or coordinated “set”? Maybe with handles, unique patterns or colors? Yah me too. But then I think about how much all those nice boxes & containers might completely blow my budget. No thanks, no es bueno.
1 more question… if you’ve paid attention, have you ever noticed that most storage boxes are truly just that? Boxes! Sometimes chipboard boxes, sometimes thick cardboard boxes. Both are pretty dern cheap so why not make your own pretty storage boxes? They’ll be unique, inexpensive (maybe even free, like mine were), and totally custom!
Here’s how to make your own DIY custom storage boxes!
First find a box that fits the space you want to use it in & the things you’d like to store in it. We usually keep boxes from deliveries to use for everything from lining the trunk when carting around dirty things to wrapping presents & everything in between.

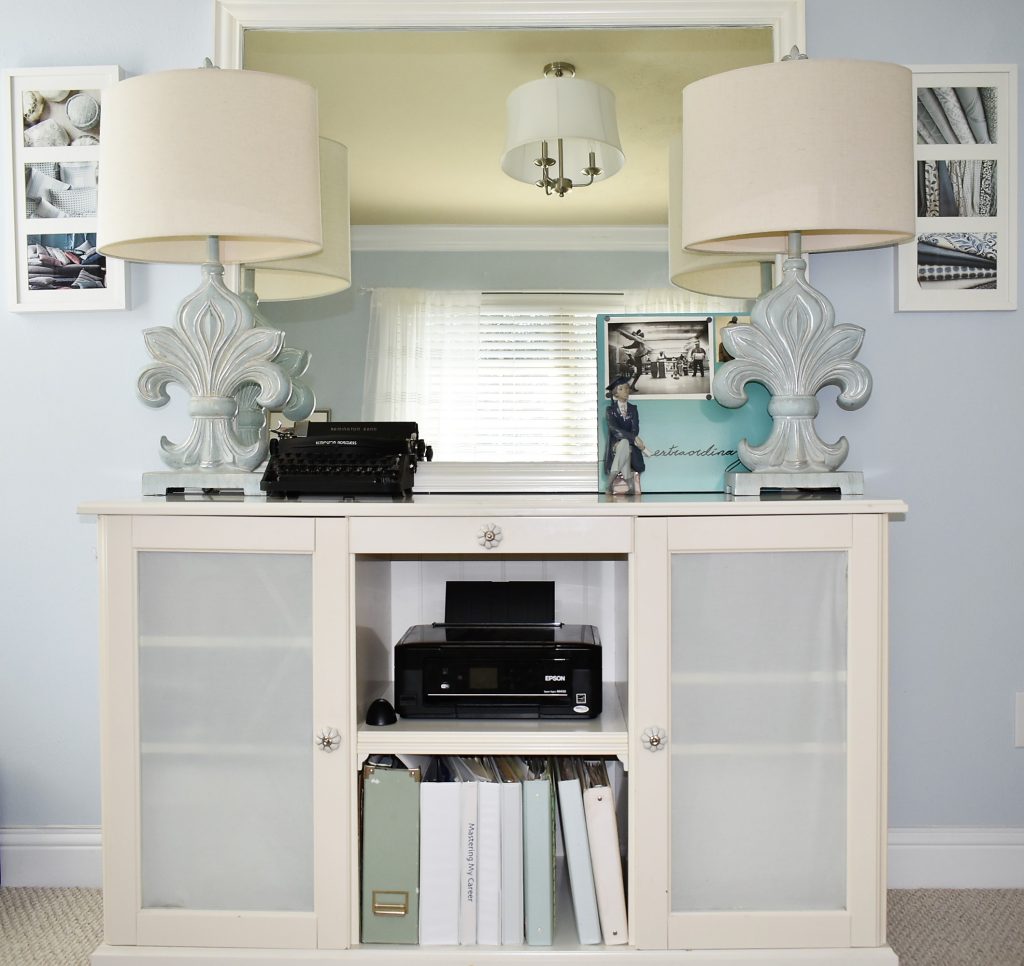
For this project, I used a cottonelle box we got from our last Amazon S & S shipment. It’s practically a perfect fit for our IKEA Liatorp sideboard. This sideboard is the main storage piece in both my office & our kid’s media room.
Cut all the flaps off one end of the box using a sharp box cutter. This will be the top of the storage box. Just like with kitchen knives, if your box cutter isn’t sharp, you are at more risk of cutting yourself. Replace your blade or use scissors instead.

If the cuts on the top of the box are not “perfect”, use hot glue to fill them in. On 1 of my boxes I had a really jagged cut. I’m not sure what happened there but I just put a thick enough bead of hot glue to raise & smooth out that area. It will take a little longer to dry because it’s so thick, but it’s still just a few minutes. This will be hidden when I wrap the box later.

Flip the box upside down and place it on top of another box that’s laying flat on your work surface. With the bottom flaps open, trace the inside of future storage box. Cut along the trace line with a sharp box cutter or scissors. This will be an insert to reinforce the bottom of the storage box. You will need 2 of these to make the bottom extra strong.


Fold the bottom flaps back down & hot glue them into the original position they were in before opening. I used 3 long thick beads of glue on each of my flaps. You could also use wood glue or Elmer’s glue, but both will take longer to dry.

Add the bottom reinforcements that you traced & cut out 2 steps before – 1 for inside the box, 1 for the outside bottom of the box. The inside piece should be a snug fit; mine was so snug I had to trim it slightly. The outside piece is both for strength & to make the bottom smooth. Use hot glue to secure them in place.


Decide how you want to cover your box. You could use anything you have on hand including:
- paint (craft paint is best, but if the board is thick spray paint could still work)
- stencil
- paper
- fabric
I chose from some contact paper & self adhesive wallpaper that I had leftover from other projects. Wrap the box as you would a present without a top.

Lay the box on it’s side & starting on what will end up being the back of the box, carefully wrap the contact paper around the sides of the box. Leave about an inch of the paper loose at the top edge of the box. Make sure the overhang at the bottom doesn’t stick to the box yet.


Tip: if you don’t have an extra set of hands to help out, put something heavy inside the box to hold it in place as you wrap. A weight or a stack of books will do.
Once you have the sides wrapped, fold the paper over the bottom the same way you would wrap a present. Use hot glue instead of tape to secure the paper (or fabric) to itself.
For the top, fold over the bit of paper that you left out. This will cover any imperfect cuts & also smooth them out. Plus it just looks more finished. Hot glue any areas that don’t stick really well & add a dab in the corners too, just to make it really secure.

These last 3 steps are optional but add to that custom factor.
Bonus step 1: Add some hardware! Measure out the placement & use E6000 to attach metal hardware to the contact paper.

Bonus step 2: Measure & cut flat pieces of cardboard from another box to create “sections” in your storage box. In my box, I only cut 1 piece lengthwise so that my files would sit perfectly on 1 side of the box with a small section for empty folders on the other.

Bonus step 3: Add “feet”. For me this is just some felt to help my storage box slide in & out of my console more easily. I would not suggest using furniture feet to raise these if you plan to store anything that could get heavy – it will end up sagging in the middle if you do.
There you have it! FREE DIY custom storage boxes! You can make these for any room, any size, any purpose (except anything wet, of course), anytime!


If you decide to try it, drop me a comment & let me know how it turns out. And let me know if you come up with any additional tips or tricks I might have missed.
1 last thing… if you like this project, share it & pin it for later. Thanks.


Hey lady!! First I have to say I freaking love your sight look.. the video was wonderful to watch (I kept smiling at you..heeheee)…now.. on to my comment.. excellent job on the repurpose of the boxes. This is a very encouraging way to reuse and save money..
Well hello my friend!!! I hope you are doing well. Thank you so much for both compliments! As you know I’ve taken a ̶l̶i̶t̶t̶l̶e̶ break but hopefully there will be more to come soon. 😉
OMG! Ido this toooooooooo I will not waste money on storage containers anymore unless I need an extreme heavy duty one.
Hi Mari!! This is the only way I go now, I have them all over the house in different sizes & patterns. Why pay for cardboard boxes right?
Unbelievable. That is so creative. I never would have thought it was made of boxes.
Thanks. Boxes are great for many things around the home & garden.
What beatifully concise directions! I have to give this a try.
Thank you Sarah. Please do… and let me know how it goes.